ActionScript PSD Encoder with layer support and PSD specification explained

March 9th, 2014
by admin

[updated version: 1.1 at the end of this post]
At the end of this article you can find an as3 PSD document encoder that turns array of bitmaps into a layered photoshop document file.

I’ve decided to write this encoder because of several reasons:

  1. there is an actionScript PSD parser on the internet, but there are no encoders
  2. PSD encoders are parts of bigger projects and aren’t necessary fully compatible with PhotoShop
  3. I wanted to have a possibility of creation layered image files
  4. there are several formats that supports layers, but PSD is the most standard, supported by many apps
  5. Adobe specification of photoshop file format lacks some information that is necessary to create an encoder quickly and with no wandering in the dark

The encoder works like that:
//create two bitmaps, first will be a bottom layer, red rectangle, second will be a green rectangle in the center of the bottom layer
var bitmap1:Bitmap = new Bitmap( new BitmapData( 300, 300, true, 0xff0000 ) );
var bitmap2:Bitmap = new Bitmap( new BitmapData( 200, 200, true, 0x00ff00 ) );
bitmap2.x = 50; bitmap2.y = 50;
//encode 2 bitmaps into a PSD file
var byteArray:ByteArray = PSDEncoder.encodePSD( Vector.[ bitmap1 , bitmap2 ] );
// save the byteArray as a file
new FileReference().save( byteArray , "test_image.psd" );

This is the demo. The demo is very trivial, its just the code above in a button event handler, you just save the file after clicking, but I like demos, so here it is:


About the PSD specification pitfalls.

The specification can be found at: http://www.adobe.com/devnet-apps/photoshop/fileformatashtml/#50577409_pgfId-1030196
I will discuss things that I stumbled upon when writing the encoder or things that appears to be unclear. I will focus on most common features of PSD.

File header section
The PSD file header is pretty straightforward. The “bitmap” color mode of file is special mode that is used to draw vector graphics, so better use CMYK or RGB

Color Mode Data Section
We will skip this one…

Image Resources Section
First field – “Length of image resource section.” – it is unclear whether this length should include 4 bytes of this field. Answer: NO it shouldn’t.

The thumbnail (image resource ID 0x040C)

  • Supported formats for thumbnails, according to specification, are kJpegRGB and kRawRGB. The Raw RGB format however, doesn’t work on PhotoShop 7 (version that I’ve tested).
  • Pay attention to data in 12th byte – widthbytes. It must be computed using the formula in the specification:
    This is more fancy notation: widthbytes = width * 24 + 31 >> 5 << 2
    This basically adds 1 to 3 bytes to width in bytes of the image, to make it divisible by 4.
  • Also - pay attention to the length of JFIF data (what is JFIF? Most today's .JPG images are contained in a JFIF container, if you paste JFIF data in a file and add .JPG extension, it will be an ordinary JPG image file). If the length is uneven, you must add 1 byte to the end of JFIF data (it is mentioned under Image Resources Section description). Most photoshop documents has thumbnails with size limited to 127x127 rectangle.

Layer and mask information section
First field - "Length of the layer and mask information section" - this length, just like in Image Resources section, shouldn't include length of itself.

Then we have "Layer info" section.
"Length of the layers info section, rounded up to a multiple of 2." - this also shouldn't include the length of itself. But what about "rounded up to a multiple of 2"? This means that in case if the length of layer info is odd, you should not only add 1 to the length, you must also add this one byte to the end of the "channel image data" section. The very end.

Now "Layer records".
Third field is the "Channel information". It contains channel IDs and lengths of channel data. Length of channel data must include also 2 bytes that tells what kind of compression it is.
The RGB channels in Photoshop are in the following order: R,G,B,A. Every channel data entry contains type of compression and then colors. Photoshop 7 saves PSD in RLE format, but also reads raw layers. Channel image data entry, when compressed using RLE, looks like this (this isn't very straightforward when looking at the specification):
[1st layer 1st channel compression type]
[1st layer 1st channel RLE lengths]
[1st layer 1st channel data]
[1st layer 2nd channel compression type]
[1st layer 2nd channel RLE lengths]
[1st layer 2nd channel data]
...
[2nd layer 1st channel compression type]
[2nd layer 1st channel RLE lengths]
[2nd layer 1st channel data]
...

In case of raw data, we have a description: If the layer's size, and therefore the data, is odd, a pad byte will be inserted at the end of the row. - this is actually not true, we only insert this one byte that I've mentioned earlier (in case of data oddity).

Layer records field "Flags", there is a description:
"bit 1 = visible" - this actually means, that when bit 1 equals 1 - the layer IS NOT visible.

Layer records field "Length of the extra data field (=the total length of the next five fields)" - but there are 3 fields in the specification. So where is the rest? By looking at the PSD document, I can tell that there's some data after the "Layer name", the last documented field. So probably this isn't a mistake in the specification, but these fields aren't documented. So this is a mystery. Stripping them (and of course correcting all the fields that says "length of...") didn't corrupt the PSD file.

Last field - "layer name: Pascal string (...)" - funny thing that I didn't know what's that "Pascal string". Of course I remember strings in Turbo Pascal, they could be up to 255 chars long. Google didn't tell anything valuable about "Pascal string", funny thing that this Specification appeared in the beginning of search results. So what is that "Pascal string"? It is a string with an integer at the beginning, telling how long this string is (in contrary to c-string when we have null at the end).

Image Data section
Image data section contains all the pixel colors. It is a bit different from "channel image data" section, esp. when yo use RLE encoding. This is the description from the specification: "RLE compressed the image data starts with the byte counts for all the scan lines (rows * channels)"
This is the scheme of data layout in image data section:
[1st channel RLE lengths]
[2nd channel RLE lengths]
...
[1st channel data][2nd channel data]
...


** By following the rules below, you will create identical data in PSD to Photoshop's output (this way there's a greater chance that the generated documents will be opened in all Photoshop versions). **
About RLE compression
The description in the specification says, that when parsing PSD documents, we must compress using RLE (packbits algorithm) every scanline separately. Actually, Photoshop does this in 128 byte chunks.
That is:
y := 0
1: take the scanline at y
use packbits on all 128 byte chunks of the scanline bytes
- if there are less than 128 bytes left, then take the rest
y := y + 1
go to 1.

Also, if you take a look at the MacPaint's packbits algorithm: http://telegraphics.com.au/svn/macpaintformat/trunk/packbits.c
These lines (written in C):
if(run <= (dataend-3) && run[1] == run[0] && run[2] == run[0]){ for( p = run+3 ; p < (run+maxrun) && *p == run[0] ; ) in Photoshop are changed to:
if(run <= (dataend-2) && run[1] == run[0] ){ for( p = run+2 ; p < (run+maxrun) && *p == run[0] ; ) ... so that we are starting a RLE run in case we meet 2, not 3 similar bytes.

About colors in image data section.
Colors in image data section are premultiplied by alpha with white. Regardless of the "background" entry on "Image resources" section (personally I don't know what this entry does anyway). Alpha channel stays intact.
The premultiplication is done using following formula:
R = int( ( A * R + (255-A) * 255 ) / 255 + 0.5 )
G = int( ( A * G + (255-A) * 255 ) / 255 + 0.5 )
B = int( ( A * B + (255-A) * 255 ) / 255 + 0.5 )
(A = alpha channel byte, R = red byte, G = green byte, B = blue byte)


And these are the sources:
v. 1.0 PSD Encoder class

update 1.1:
v. 1.1 PSD Encoder class with 2 utility methods
as you can see in the comments section, a generous contributor (Tom Keen) made 2 routines that simplifies the usage of a class. Class works as previously, but has added 2 utility functions.
remark: DisplayObjects supplied to the method "exportDisplayObjects" must have a parent


Tags: , , ,
Posted in flash experiments | Comments (3)

Algorithmic fractalish Flowers

February 7th, 2014
by admin

There’s winter behind the window, so I’ve decided to grow my own plants.
There are many examples of interactive tree/plants generation, mainly done using a recursive algorithm, that draws a vertical line, then splits it on 2, then these 2 splits again and so on. I wanted to make something different, something like plant/foil-type graphics that were popular back in ~2005 year (then there was a boom for mirrors everywhere, like OSX cover flow, now we want everything to be made using drawRect method, like Windows8 ;) ).
This is an example:
old-style photoshop brush
or:
old-style foliage

Maybe this is because videocopilot released a bunch of flower-like assets for photoshop and everybody used them. Some time ago they released particle effects of falling dust or snow with great dose of bokeh – then I saw it in hundreds of commercials and billboards.
OK, so this is the tree-drawer.
Screenshot:

Program:
FOLIAGE

I did it in Flash, in JS canvas it would be slow to perform and slow to code.
I’ve made a button that allows you to save your graphics. Bad luck I did it now, since flowery design isn’t very fancy today, better if I did some Windows 8 – style rectangle drawer ; )
Settings – settings are pretty self-explanatory, if some are not then you are free to experiment.

If an app detects that there are too many leaves to draw, then it doesn’t draw new leaves, until old leaves are drawn. Esp. when you set a level of recursion too high, then it may get very cpu-intensive.

Tags: , , ,
Posted in flash experiments | Comments (0)

Automatic drawing recognition for Android

December 3rd, 2013
by admin

I’ve recently made a little app that recognizes drawings. Like all recognition software, to recognize something it must have some source of information. In case of drawings, I needed drawings of categorized objects drawed by different people. One of the papers from SIGGRAPH came to the rescue – it appears that somebody already made something like that. They have shared different resources that helped them with their work, one of them is an archive with 20 000 categorized images. The images were created using amazon mechanizal turk.
Information in this SIGGRAPH paper was a bit “sketchy” so I’ve created my own database and own interpretation of the recognition engine. My database appears to be 2x smaller than the one from the paper, but its nothing to be proud of because I’ve already had all these categorized images and the paper that gave me hints.
The workflow is as follows:

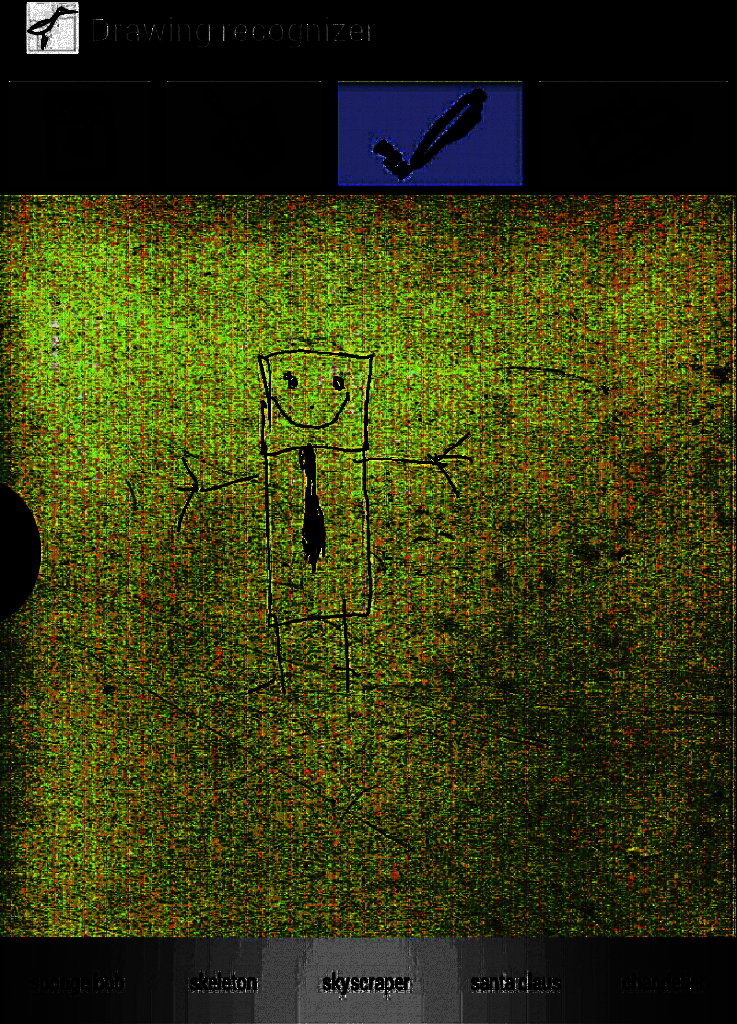
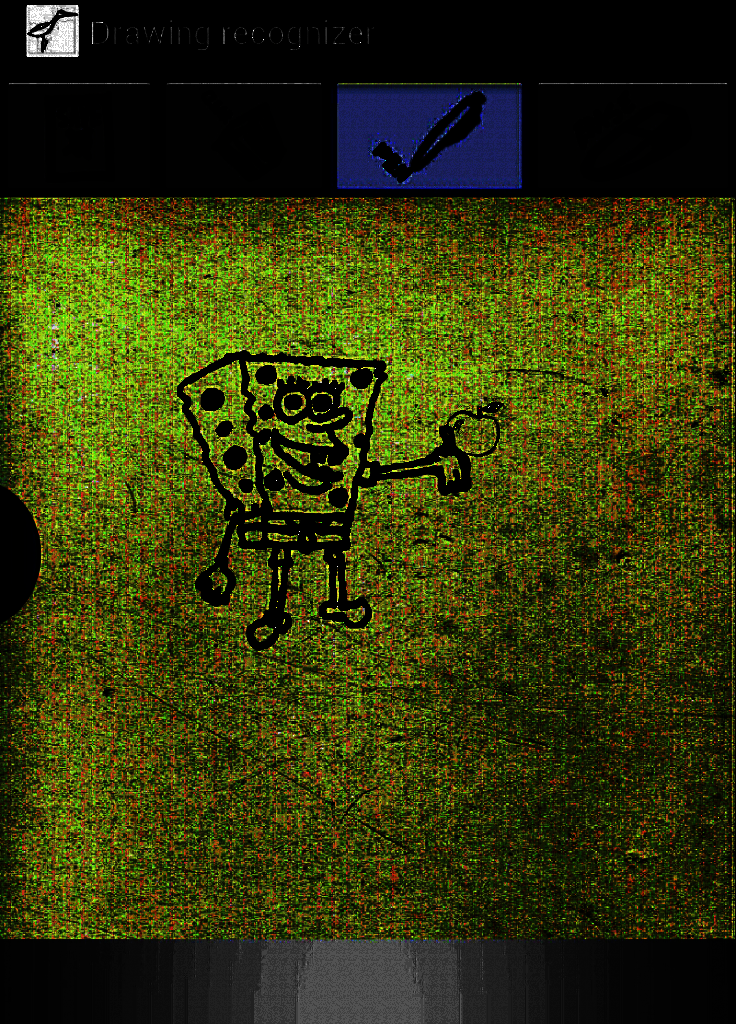
first, you draw an image and see at the bottom buttons what was recognized

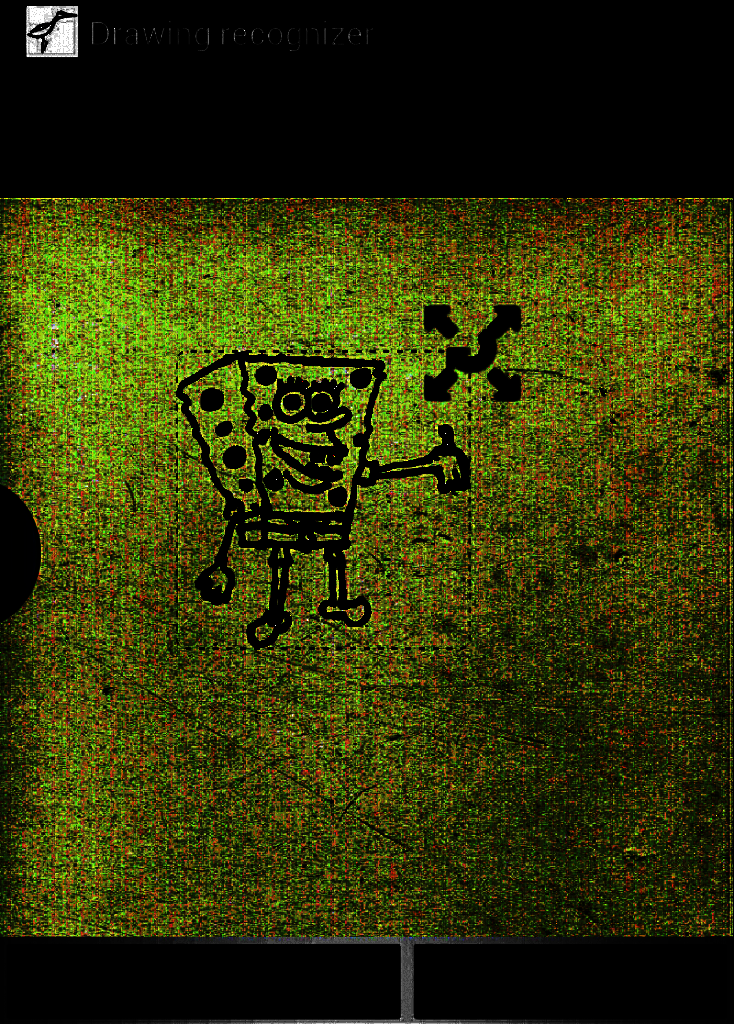
Cool, it was recognized as “sponge bob”.

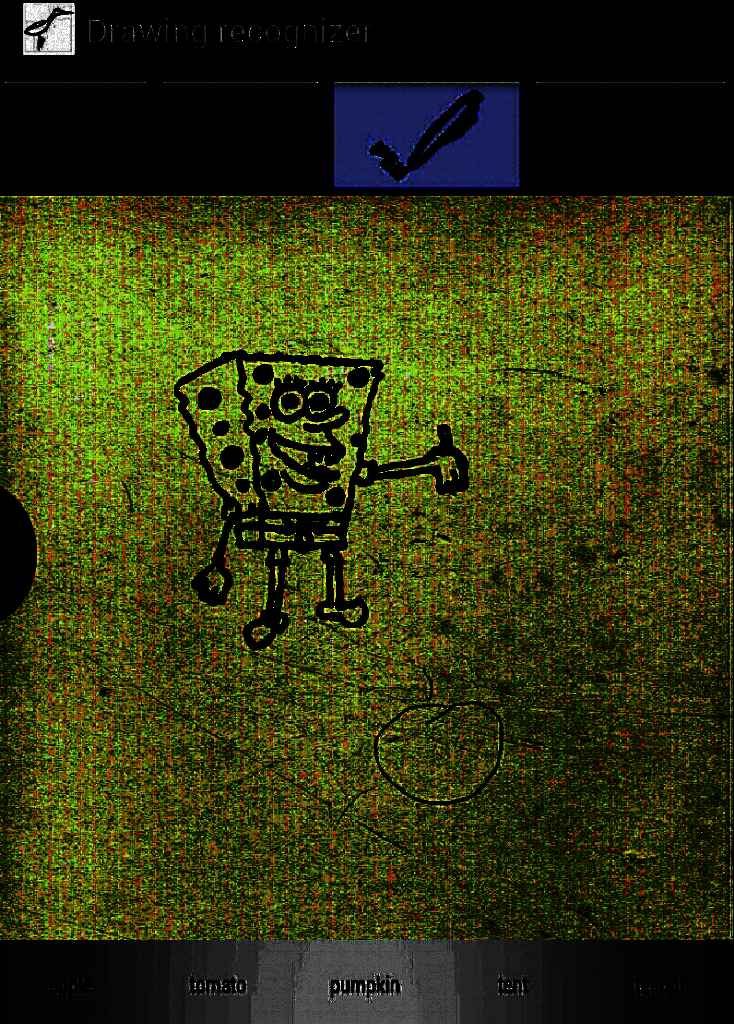
Let’s draw him an apple

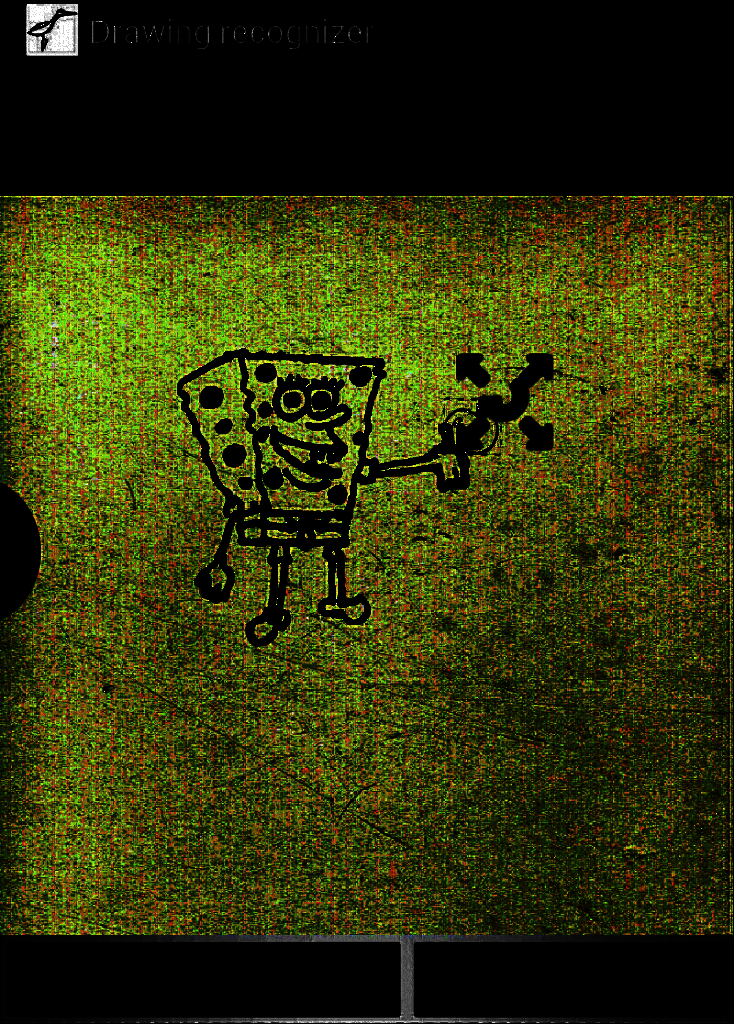
Now position the apple on spongebob

Voila :f

Funny story, I’ve uploaded this app to Samsung app store, but they have rejected it on the last stage, because the tester said that his drawings shouldn’t disappear (they are replaced with “beautified” versions of your drawings). I guess I should make more idiot-proof app (as all apps and especially games these days) but I don’t know if I’m too old for this sh!t.

bz

Tags: , ,
Posted in flash experiments | Comments (1)

Doodle/draw on PDF documents

February 2nd, 2012
by admin

Sometimes I get some PDF forms to fill in and send back by email.
To do this, one have to:

  1. print the PDF
  2. fill or sign in certain places and then …
  3. scan the document.

There are some drawbacks to this method:

  • you need money for printer ink
  • you need time for doing all these steps
  • you must have a scanner or at least decent camera
  • after rasterizing the PDF to JPG/PNG it won’t print again as pretty as it used to

I’ve been searching some online services with PDF editing, but there are no such things … at least I didn’t find it. There exists commercial PDF viewers which allows you to add text/ink to PDF documents, but they work either only on Mac or Windows, they are not online and they cost moneeeyyy

So here it is – free thing which allows you to fill out pdf (you will need a tablet though, it would be hard to do it using a mouse)

sgn.teleranek.org

It uses a huge but awesome javascript library for displaying pdf’s – PDF.JS (really, tremendous work by these guys to show PDF document on a canvas element) and makes use of the File API, so it won’t work on older browsers. But it is a known story concerning HTML5 thats why I’m not a big fan of it ; )

There are also other things that may not work:

  • PDF.JS may have problems with opacity or displaying some PDF’s
  • Encrypted PDF’s may not work
  • Some other PDF’s may not work, because I didn’t test hundreds but only several tens of PDF’s
  • THERE’S NO ERASER TOOL

Apart from that, I have used it for several documents with success. If your PDF don’t work, most possible cause is, that it is inconsistent according to PDF spec and you should print it again to PDF.
I had problems with newest Microsoft Word PDF Plugin, PDF’s there lacks of xref table and the references are all wrong.

Tags: , , ,
Posted in flash experiments | Comments (27)

AIR 3 PDF Renderer extension (Mac OSX only)

October 2nd, 2011
by admin

There’s this new feature in AIR 3 – native extensions, and there’s that ever-existing problem, how to render PDF documents in flash. In web player that’s still not possible (well, unless you sacrifice one year for writing PDF renderer) but it’s possible in AIR, for example using native extensions.
MacOS-X has the Cocoa library(framework) which performs great in rendering PDF files so I’ve written an extension which uses this lib to send BitmapData object containing rendered PDF to flash. Of course this is possible in windows and linux too, using XPDF library for example. AIR native extensions are easily extendable and altering several things in files that I’ve provided should make that extension work on windows, linux and even mobile systems.


RenderPDF extension contents:
There are many files in the archive, but all of them were used to make an extension.
PDFExt_framework contains compiled OS-X framework.

PDFExt_XCode contains an objective-c (objective-c is needed for Cocoa library) framework project.

PDFExtTest is a test app using an extension. In sample_commands folder you have bash commands to compile and package the test app. Test app displays a pdf, allows page changing and saving current page as PNG image. Test app illustrates usage of RenderPDF extension methods:
get pageCount():int,
RenderPDF.renderPage( pageNum, dpi ):BitmapData ,
loadPDF( source:String ):Boolean

PDFExtTest app screenshot:

PDFExtAS is the source code for AS3 interface for an extension.
compiled – this folder contains compiled swc, extension, extension xml descriptor and sample commands for compiling and packagind everything into an .ane file.


Several remarks:
Before compiling the framework, you must add the Cocoa framework and Air framework to the project, and then exclude them from linking, as described on “Extending AIR” article. In Info.plist file you must add the DYLD_FORCE_FLAT_NAMESPACE env variable and in project settings you modify the “Runpath search path”.

If you’ll take a look into PDFExtM.m source file, you will see that returning a BitmapData object from native function involves quite a few steps.
Also, flash BitmapData sometimes contains some extra bytes at every scanline, so memcpy from native uint array to copy the bitmap won’t work, you must iterate every pixel and skip the extra bytes at the end of a scanline (maybe there’s some super clever low-level-memory-hacking method to do it faster).
RenderPDF+sources

Tags: , , ,
Posted in flash experiments | Comments (9)

Molehill (away3d broomstick) 3D model viewer

April 1st, 2011
by admin

I’ve recently converted my old model viewer to away3D (it was using papervision3D).
molehill model viewer
This is the version which automatically loads well-known papervision3d x-wing model:
molehill papervision3D X-Wing
This is the version automatically loads a face generated with 3Doodler ( :P ), looks nice with subsurface scatterin 3Doodler face
(if you don’t see anything, you probably should have installed Flash Player version 11+)

ModelViewer supports OBJ, 3DS, Collada, MD5, MD2, blah blah blah…
Since Away3D Broomstick is in alpha stage, my viewer is alpha too. It supports Collada objects (DAE and ZIP files) because I had to write DisplayObject3D – to – ObjectContainer3D converter: “PaperAway

Usage:

var mesh:Mesh = PaperAway.fromDo3D( displayObject3D );

That’s all :P Well, there are some additional options, but I won’t describe them here, read the code yourself…

Some strange things I’ve noticed in molehill’s/away3d’s coordinate system – uv coords are assigned to vertex indices, not face indices. This forces you to do either of two things:
– make too many vertices, one vertex per face vertex
– check for vertex UV coords and create new vertex only if the uv coord of given vertex is unique. This is confusing explanation, you can check it in the source code for PaperAway.as , starting from line 242.
Class PaperAway is not fully featured, it does not create materials according to Papervision3D’s shadedMaterials. Also it does not transfer interactive events of displayObject3D.

These are the issues with Away3D which I’ve spotted so far (some descriptions are very sketchy, sorry):
-material.dispose() generates null exceptions
-model.clone is erroneous because SubMesh system is not fully implemented
-model.dispose() is kinda erroneous too
-submeshes materials does not resemble corresponding scenegraph meshes materials.
-parser of OBJ files – OBJParser – falls into infinite loop when supplied OBJ file has materials defined, by the material file does not exist. In errorMtl() function writing after the trace command “_mtlLib = false” solves the issue.
-there are some problems with updating textures. You can see them by clicking on wireframe and then on “normal” – texture’s not getting updated.

Tags: , , , ,
Posted in flash experiments | Comments (6)